
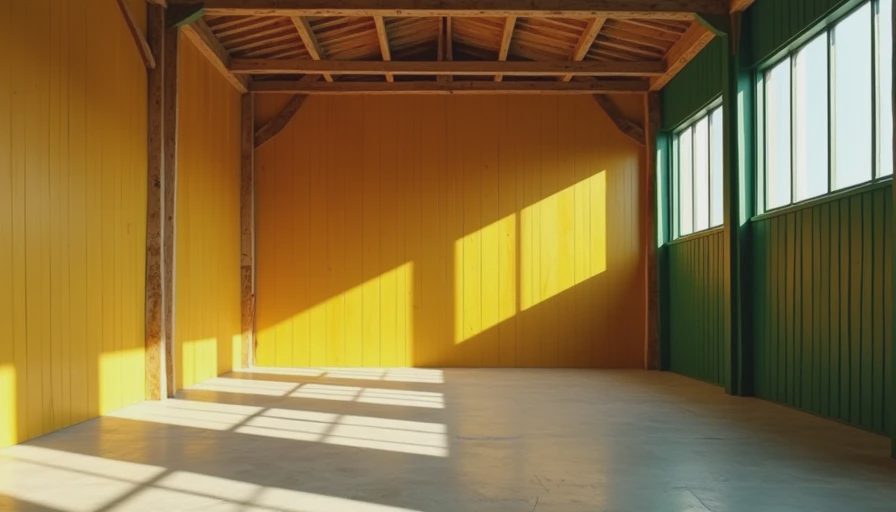
If you're shopping for backyard storage or a workshop, you've probably seen the term clerestory shed pop up in plans and prefab models. A clerestory shed uses a raised roof section with a band of windows near the peak, letting in natural light without losing wall space for shelving or workbenches. That simple design shift makes a huge difference in usability, especially if you're tired of grabbing a flashlight every time you need a screwdriver.
Why Choose a Clerestory Shed Over a Standard Shed?
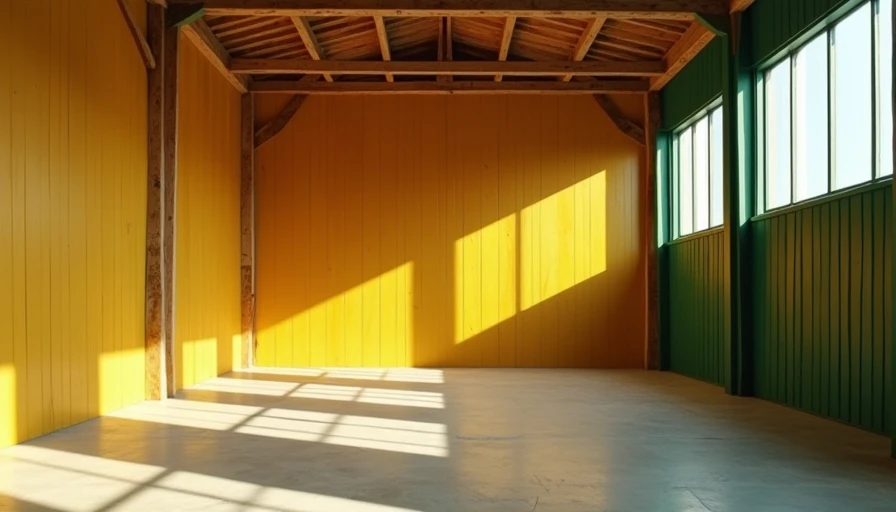
Standard sheds are dark boxes. You either install an expensive skylight or wire in electric lights. A clerestory shed solves both problems in one move. The raised roof ridge and side windows allow daylight to fill the interior evenly, reducing the need for artificial lighting during the day. That matters for projects where you need to see grain direction on lumber or read a tape measure clearly.
Another practical benefit is ventilation. The clerestory windows can be operable, letting hot air escape near the roof peak. In a standard shed, summer heat builds up and makes the space unusable. With a clerestory shed, you can crack the windows and create natural convection.
Key Design Features for Your Clerestory Shed
Building a clerestory shed isn't much harder than a conventional shed, but you need to plan the roof structure carefully. The classic approach uses a truss system where the center section is raised, creating a gap for windows on both sides. Here are the critical specs:
- Roof pitch: Minimum 4/12 to shed snow and allow enough headroom under the clerestory.
- Window placement: The bottom of the clerestory windows should be at least 6 inches above the roof slope below to avoid leaks.
- Flashing: Use a continuous flashing at the lower edge of the clerestory wall to direct water away from the roof seam.
Materials matter too. If you're on a budget, use standard 2x4s for the walls and 2x6s for the roof rafters. The clerestory wall itself can be built with 2x4 framing. For windows, consider fixed awning windows from a big-box store—operable if you want ventilation, or fixed to save money. A typical clerestory shed (8x12 ft) costs about $2,500–$4,000 in materials if you DIY, or $5,000–$7,000 for a kit that includes everything.
Cost Considerations and Material Choices
The biggest cost driver in a clerestory shed is the windows. A pair of 2x3-ft windows runs about $150–$300 each, depending on whether they're single-pane or insulated. Insulated double-pane windows are worth the extra $100 per window if you plan to heat the shed in winter. The other major cost is the roofing—metal roofing is popular because it's lightweight and lasts 30+ years. Standing seam metal runs $3–$5 per square foot installed, while corrugated panels are closer to $1.50–$2.50 per square foot.
Don't overlook the foundation. A clerestory shed needs a level base—concrete slab or gravel pad with skids. Slab costs around $1,000–$1,500 for a 12x16 shed, while a gravel pad is $300–$500. Skids on concrete blocks are cheapest but prone to shifting if your soil freezes. If you're building in a climate with freeze-thaw cycles, dig footings below the frost line.
Common Mistakes to Avoid When Building a Clerestory Shed
First mistake: underestimating the roof load. The clerestory section creates a valley on each side where rain and snow can collect. Make sure your roof framing is sized for the snow load in your area. In northern states, that means using engineered trusses or doubling up rafters near the clerestory.
Second mistake: poor window sealing. The gap where the clerestory wall meets the lower roof is a common leak point. Use self-adhering rubberized membrane (like Ice & Water Shield) under the flashing. Also, caulk the window flanges with exterior grade sealant—not cheap silicone.
Third mistake: skipping permits. Many towns require shed permits for structures over 200 square feet. A clerestory shed often exceeds that because of the taller roof. Check with your local building department before you start digging. A permit might cost $100–$300 but saves you from having to tear down a shed that's out of compliance.
Step-by-Step Building Process
- Design your plans – Use a shed plan from a reputable source or modify a standard gable shed plan. Confirm clearances from property lines.
- Prepare the foundation – Level and compact the site, build forms for a slab, or set concrete blocks for skids.
- Frame the lower walls – Standard 8-ft walls work well. Leave the top plate open where the clerestory will sit.
- Build the clerestory wall – Frame a short wall (typically 2–3 ft tall) on the ground, then lift it onto the lower walls. Install windows before sheathing the wall.
- Install the rafters – The rafters span from the outer walls to the clerestory wall and continue to the peak. Use hurricane ties at connections.
- Sheath and roof – Install plywood sheathing, underlayment, and roofing. Apply the flashing at the clerestory-to-roof seam.
- Finish – Add siding, paint, and interior shelving. Don't forget to install a vent at each gable end if you want airflow.
Final Thoughts
A clerestory shed is one of those upgrades that makes a real difference in how you use your outdoor space. The extra light cuts down on electricity costs, and the tall ceiling allows for overhead storage if you build a loft. Whether you DIY or buy a kit, the investment pays off in daily usability. Start with solid plans, spend the money on good windows and flashing, and you'll have a dry, bright work area for years to come. If you're thinking of building, visit the Fix Old Home archive for step-by-step construction guides on foundation and framing.