
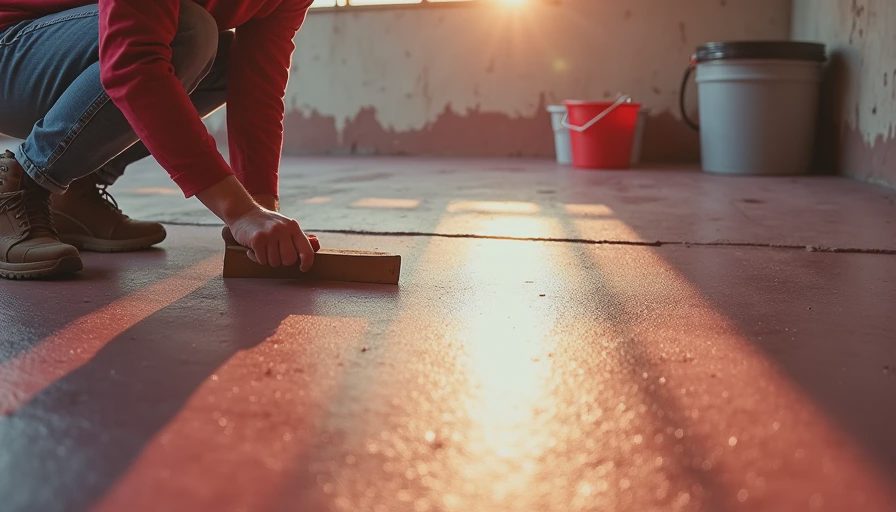
If you own an older home, you’ve probably stared at a basement wall or a concrete floor and wished it didn’t look like a crater field. Patch jobs get old, and tearing everything out is a messy, expensive nightmare. That’s where knowing how to skim coat concrete comes in. Skim coating means applying a thin layer of cement-based patching compound over the existing concrete to create a smooth, paintable surface. It’s a budget-friendly fix that can turn a dungeon-like space into a usable room. And if you’re handy enough to mix mud and spread it, you can pull this off in a weekend.
What Is Skim Coating Concrete and Why Would You Need It?
Skim coating concrete is exactly what it sounds like: you spread a thin, cementitious skim coat over rough or pitted concrete to level it out. In an old house, you might need this on:
- Basement walls that were poured unevenly or have form-tie holes.
- Concrete floors with spalling, trowel marks, or shallow cracking.
- Brick or block walls that were parged poorly and now look like a topographic map.
The big advantage? You don’t have to demo anything. You fix the house you have, not the fantasy version of it. Skim coating hides cosmetic flaws and gives you a uniform base for paint or a clear sealer. But—and this is a real “but”—it will not fix structural damage or active water intrusion. If your basement wall is leaking, you fix the leak first. Otherwise, you’re just painting over a problem that will bubble and peel.
Tools and Materials You’ll Need
Before you start, round up these items. Good materials matter here; cheap mixes are harder to work with and don’t bond as well.
- Bonding adhesive (e.g., SikaLatex or Ardex P-82) – This is critical for old concrete that may have paint residue or be dusty.
- Skim coat mix – Ardex Feather Finish is the gold standard. It’s self-leveling for floors but also works on walls if you add a bit of acrylic fortifier. Another good option is Sika Top Seal as a topcoat. Expect to spend $30–50 per bag. You’ll probably need one bag for a small room (100 sq ft) at 1/8-inch thickness.
- Steel trowel or magic trowel – A 12-inch trowel works, but a magic trowel (flexible plastic) gives a smoother finish for beginners.
- Mixing paddle and heavy-duty drill – You need real power. A $30 Harbor Freight paddle is fine, but don’t burn out your best drill.
- 5-gallon bucket and a spray bottle to keep the mix damp.
- Sponge float for texture, or sandpaper (120 grit) for a final smooth finish.
Total material cost: roughly $50–100 depending on room size. That’s a fraction of what a pro charges.
How to Skim Coat Concrete: Step-by-Step
Follow these steps, and don’t skip any. The difference between a lasting skim coat and a flaking mess is in the prep.
Step 1: Prepare the Surface
Clean the concrete with TSP or a degreaser. Rinse well. Scrape off any loose paint or old patching. If you have cracks wider than a hairline, back-rod and caulk them with a flexible concrete crack filler (like SikaFlex). Let that cure. Then apply a thin coat of bonding adhesive over the entire area. Follow the manufacturer’s instructions—usually you roll it on and let it get tacky before applying the skim coat.
Step 2: Mix the Skim Coat
Pour dry mix into your bucket, add water per instructions. Go for a consistency like thick pancake batter—not runny, but not stiff enough to hold peaks. Mix for 2 minutes, let it slake for 5 minutes, then mix again. You’ll have about 20–30 minutes of working time, so don’t mix a full batch if you’re slow.
Step 3: Apply the First Coat
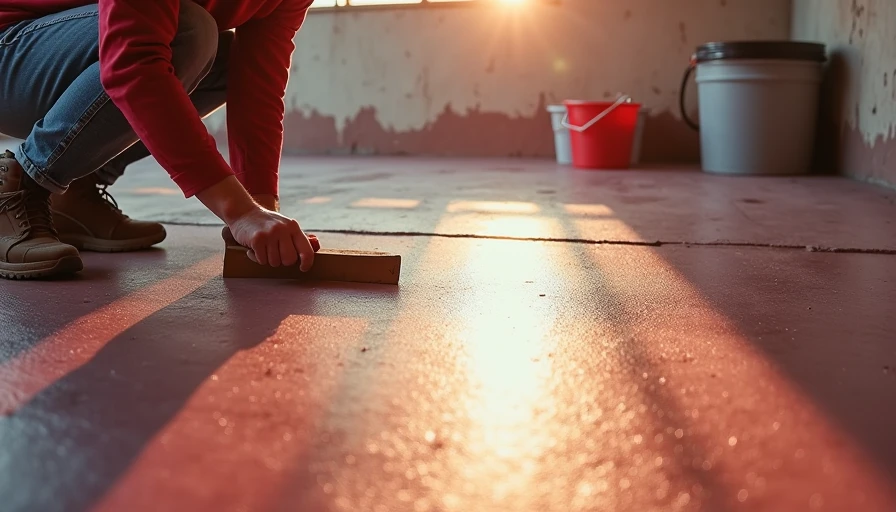
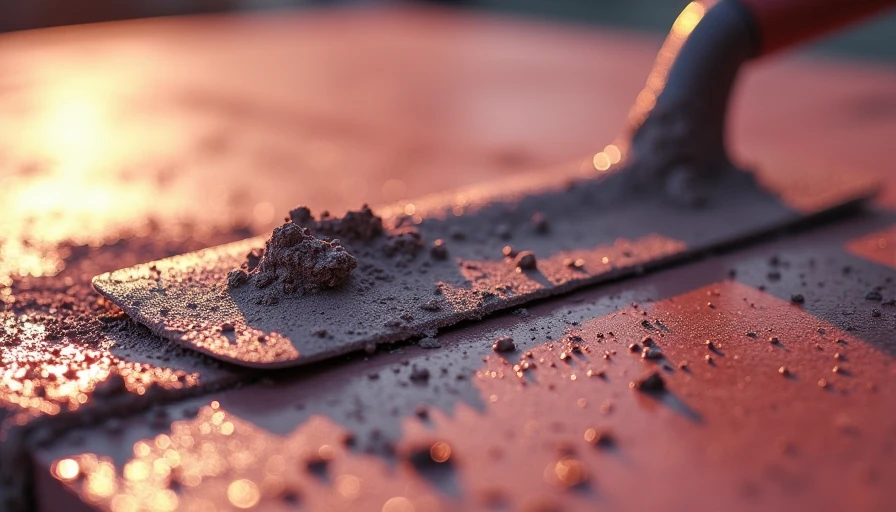
Use your trowel to spread the mix onto the concrete. For walls, start at the bottom and go up. Work in 2x2 foot sections. Hold the trowel at a shallow angle and apply firm pressure to get it into the pores and pits. Aim for a uniform thickness of about 1/8 inch. You’ll see the surface texture disappear. Let that first coat dry completely (usually 2–4 hours depending on temperature and humidity).
Step 4: Sand and Second Coat
After the first coat is dry, lightly sand any high spots or trowel marks with 120-grit sandpaper. Vacuum the dust. Then apply a second coat in the opposite direction to fill any remaining imperfections. For floors, you can flood the area with a self-leveling mix like Ardex Feather Finish and let it find its own level.
Step 5: Finish
Before the final coat sets, you can pull a sponge float over the surface to create a subtle texture (good for floors to avoid slipperiness). Or, if you want a smooth wall, wait until it’s hard and then sand to a flat finish. Prime with a masonry primer, then paint or seal.
Common Mistakes to Avoid (Especially in Old Homes)
This is where people get talked into the wrong job. Here are the missteps that waste time and money:
- Skipping the bonding agent – Old concrete is often dusty or sealed with paint. Without a bonding adhesive, your skim coat will delaminate in a year. You are not buying the product alone. You are buying the install, the timing, and the follow-through.
- Applying too thick – Skim coats are meant to be thin. If you try to fill a 1/2-inch depression with one coat, it will crack as it shrinks. Fill deep spots with a patching compound first, then skim.
- Mixing too wet – A runny mix won’t hold on vertical walls. It’ll sag and drip. Thicken it up, but not too much.
- Working in direct sunlight or a draft – The skim coat dries too fast and can become powdery. If necessary, mist the surface with water before you apply.
- Ignoring moisture issues – If you see efflorescence (white powder) or water stains on the concrete, that’s a red flag. Skim coating will not stop moisture from coming through. You must address drainage, gutters, or waterproofing first. Otherwise, your new smooth surface will bubble and fail.
When to Call a Pro vs. DIY
This is a job most handy homeowners can tackle themselves. For a 100-square-foot wall or floor, expect to spend a weekend and roughly $50–100 in materials. A professional would charge $300–600 for the same area—maybe more in a high-cost area. If your concrete is severely uneven (more than 1/4-inch variation over 4 feet), you might need a deep-base floor leveler or even a new slab. That’s not a skim coating job. Also, if you have active leaks or foundation cracks, hire a contractor who specializes in waterproofing before you think about finishing the surface.
Final Thoughts
Knowing how to skim coat concrete is one of those skills that pays for itself the first time you use it. Whether you’re fixing a basement wall for a home gym or smoothing a concrete floor for tile, the process is straightforward if you respect the prep. Take your time, use good products, and don’t rush the drying steps. And if you hit a snag—like the mix is too stiff or you left a trowel line—you can always sand it flush. It’s a forgiving material once you understand how it behaves. Fix the house you have, not the fantasy version of it. Skim coating is how you do that affordably.
Need a step-by-step checklist for your next skim coat project? Print this page or bookmark it. And remember: when in doubt, test a small area first.