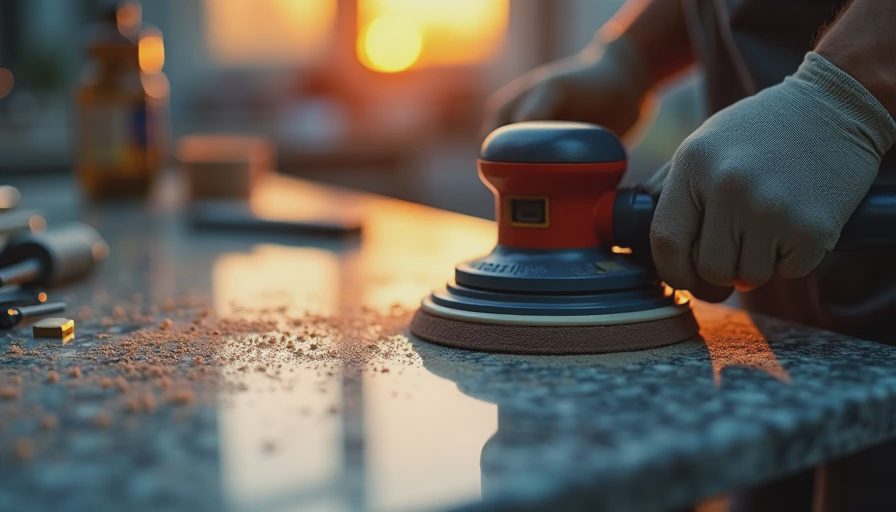
If you own an older home, chances are your granite countertops have seen better days. The edges, especially, take a beating from daily use—scratches, dull spots, and even chips. **Polishing granite edge** is a skill worth learning because it can make your whole kitchen look new again without replacing the slab. Many homeowners think they need to hire a pro, but with the right tools and technique, you can handle **polishing granite edge** yourself and save hundreds. This is where people get talked into the wrong job. A contractor might quote you $500 to “restore” your counters, but you can do the same work for under $50 in materials. Let’s break down what you need to know.
Why Polishing the Granite Edge Matters for Older Homes
Granite is durable, but the edge is the weak point. Over time, the factory polish wears off, especially on frequently used corners. **Polishing granite edge** restores that smooth, glossy finish that protects the stone from stains and moisture. In an older home, this is critical because the sealant may have worn away years ago. If you leave the edge unpolished, it becomes porous, attracting grease and bacteria. Fix the house you have, not the fantasy version of it—and that means dealing with worn edges before they become a health or structural problem. A quick **polishing granite edge** job can also help when selling your home; buyers notice dull, scratched edges immediately.
DIY vs. Pro: When to Polish the Granite Edge Yourself
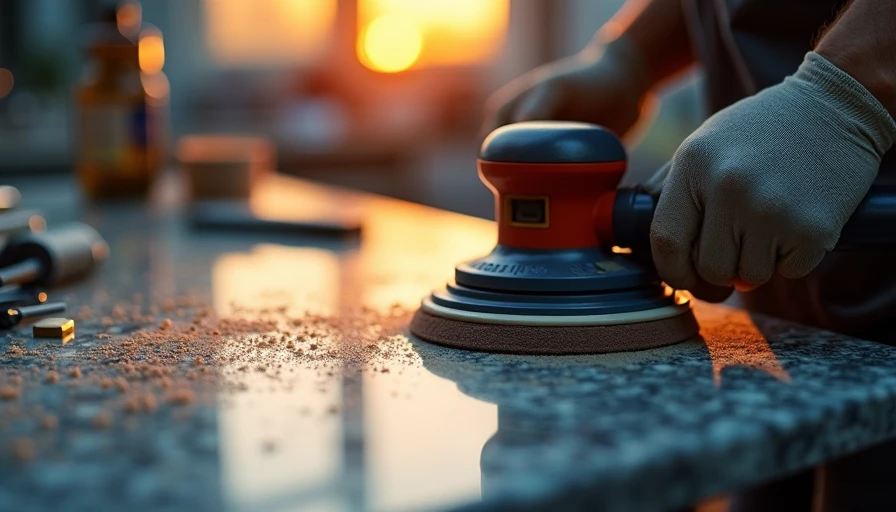
For most small to medium scratches and dullness, you can DIY **polishing granite edge**. You’ll need a variable-speed polisher, diamond polishing pads (grits from 50 to 3000), and a sealant. The process is straightforward but requires patience. However, if your edge has deep chips or cracks, or if the entire countertop is uneven, it’s smarter to call a pro. You are not buying the product alone. You are buying the install, the timing, and the follow-through. A pro can also fix lippage (uneven seams) which a DIYer might make worse. For standard **polishing granite edge** on a typical kitchen peninsula, budget around $40 for pads and $60 for a polisher (if you don’t already own one). Compare that to a pro charge of $200–$400 for the same area.
Step-by-Step: How to Polish a Granite Edge
Here’s a simple process for **polishing granite edge**:
- **Clean the area** – Remove all dirt and grease with a stone cleaner.
- **Start with low grit** – Use a 50-grit diamond pad to shape and remove scratches.
- **Progress through grits** – Move to 100, 200, 400, 800, 1500, and finally 3000 grit. Wet the pads as you go.
- **Buff to a shine** – Use a polishing compound or a finishing pad for high gloss.
- **Seal the edge** – Apply a granite sealer to protect the new polish.
Each step takes about 2–3 minutes per foot of edge. Go slow and keep the surface wet. You’ll see the difference after the 800-grit pass. That’s when the **polishing granite edge** really comes alive.
Common Mistakes to Avoid When Polishing Granite Edge
- **Skipping grits** – Jumping from 200 to 1500 leaves visible scratches. You must step through each grit.
- **Too much pressure** – Let the polisher do the work; pressing hard burns the resin in the pads.
- **Not sealing afterward** – A polished edge is more vulnerable to staining if not sealed. Use a quality impregnator.
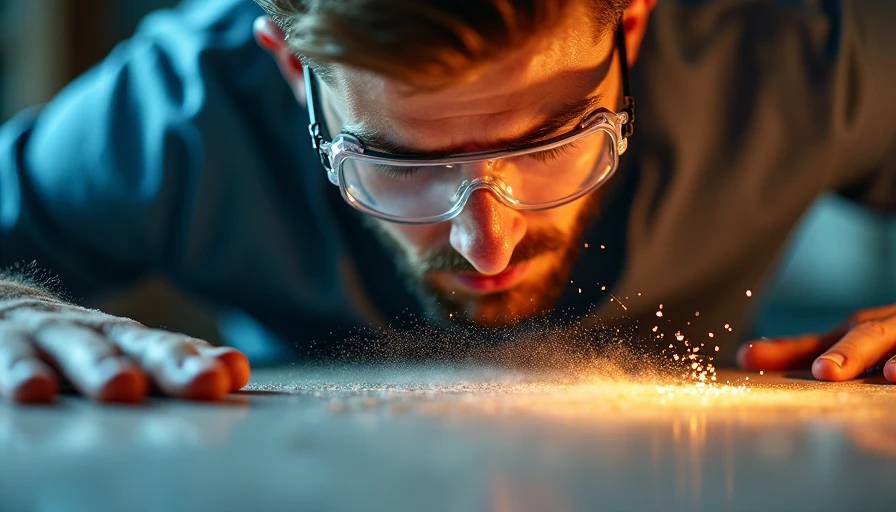
- **Polishing dry** – Always use water to cool the stone and prevent dust.
There’s a difference between cosmetic ugly and expensive ugly. Rushing **polishing granite edge** can create a permanent dull haze that requires a pro to fix. Avoid this by following the grit sequence faithfully.
Cost-Saving Tips for Polishing Granite Edge
- Rent a variable-speed polisher from a tool library for $20/day instead of buying one.
- Buy a starter diamond pad kit (5 grits) for $35 instead of individual pads.
- Use a household spray bottle for water—no need for a fancy water feed system.
- Practice on a scrap piece of granite first. Many stone yards sell remnants for cheap.
- Combine **polishing granite edge** with a full countertop cleaning and resealing for maximum impact.
A little effort goes a long way. **Polishing granite edge** is one of those tasks that makes your whole kitchen feel cleaner and more modern. Don’t let a few dull edges convince you that your counters need replacement. Fix the house you have, and enjoy the savings.
Frequently Asked Questions About Polishing Granite Edge
**Q: Can I use a regular drill instead of a variable-speed polisher?**
A: A drill is not recommended because it doesn't maintain a constant speed and can burn the stone. A variable-speed polisher ($40 rental) is much safer.
**Q: How often should I polish the edge?**
A: Typically, every 2-3 years, or when you notice the shine fading. In busy kitchens, annual polishing may be needed.
**Q: Will polishing remove deep scratches?**
A: It can remove shallow scratches (up to 1mm depth). For deeper gouges, you may need to fill with epoxy first.
**Q: Do I need to seal the entire countertop after edge polishing?**
A: Yes, it's best to reseal the whole surface to ensure uniform protection.
**Q: What's the total cost for a DIY polishing project?**
A: Expect to spend $50-$80 for pads and polisher rental, plus $15 for sealer. That's a fraction of the $200-$400 professional charge.