
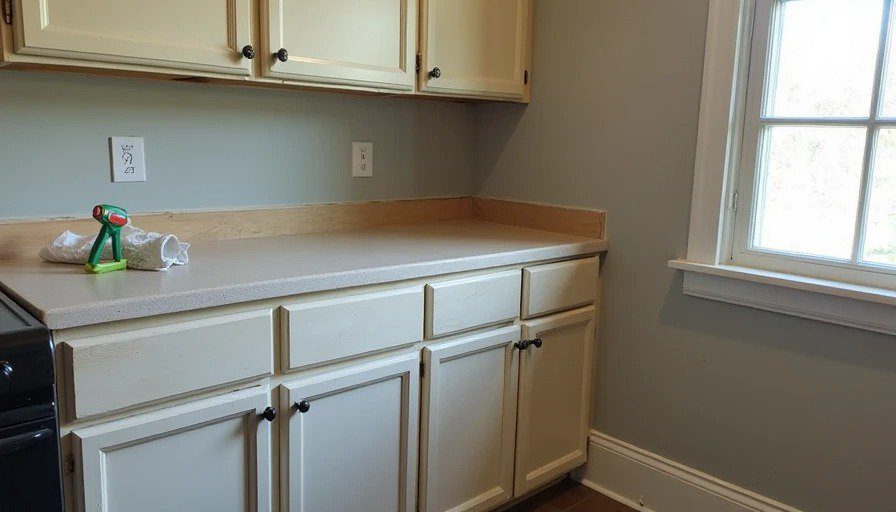
The “Finished” Kitchen That Started Falling Apart in Six Months
I’ve seen it hundreds of times. The cabinets look sharp, counters are installed, appliances are in — then the crew slaps on some trim, runs a bead of caulk, throws on two coats of paint, and calls it done. Six months later the homeowner is pointing out gaps opening up, caulk peeling at the backsplash, and paint scuffing off corners where kids bump into them. The big-ticket items were fine. The finish work is what made the whole kitchen feel cheap again.
This is where a lot of jobs fall apart in older homes. Walls aren’t straight, floors aren’t level, and corners have settled over decades. You can’t treat finish work like new construction. It requires real skill and the right materials.
Why Finish Work Is Harder in Older Homes — And More Important
Older houses move. They settle. Drywall isn’t perfectly flat. Cabinets installed on uneven floors create tricky transitions. If you don’t address these realities during trim, caulk, and paint, small imperfections become big eyesores fast.
I always tell clients: The last 10-15% of the budget and time often determines whether your kitchen looks custom and durable or like a rushed flip.
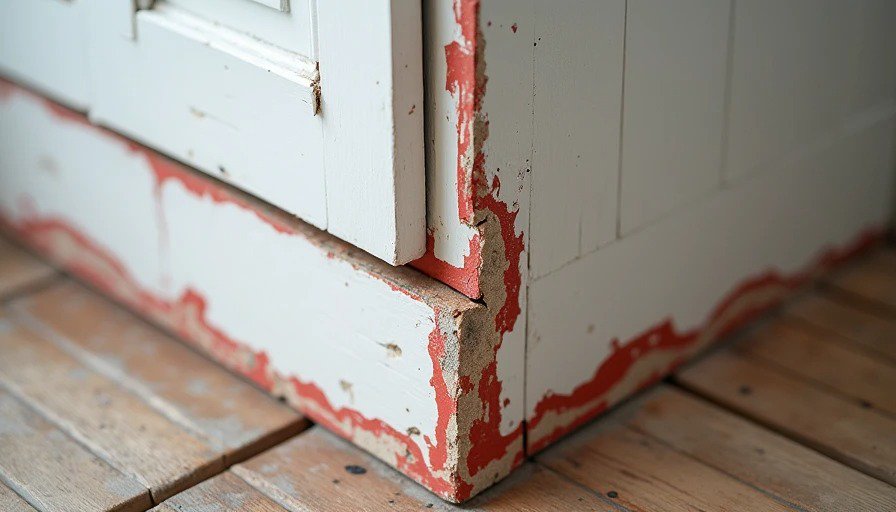
Common failure points I fix on callbacks:
Gaps between trim and walls/cabinets that open as the house moves
Caulk that shrinks, cracks, or pulls away from surfaces
Paint that chips at high-traffic edges or fails to cover properly on glossy surfaces
Poorly scribed transitions that collect dirt and look sloppy
Trim: The Art of Making Imperfect Look Intentional
Trim hides the imperfections between cabinets, walls, floors, and ceilings. In older homes, you can’t just nail straight stock and expect it to look good.
Do it right:
Use quality paint-grade poplar, pine, or MDF for painted trim (avoid cheap finger-jointed stuff that telegraphs joints).
Scribe every piece to the wall and floor. This takes time but makes tight fits.
Install filler strips between cabinets and walls for clean lines.
Cope interior corners instead of mitering where possible — coped joints stay tight longer.
Crown molding and base trim should tie the whole room together visually.
Cheap crews skip scribing and use big beads of caulk to hide gaps. That looks okay for about a year, then fails.
Where you can save: Simpler profiles instead of ornate custom millwork. A clean shaker-style trim often looks better in older homes than fussy Victorian stuff anyway.
Where you cannot save: Labor for proper fitting and installation. This is skilled work.
Caulk: The Unsung Hero (and Biggest Regret)
Caulk is not decoration. It’s a flexible seal that moves with the house.
Rules I live by:
Use high-quality paintable latex caulk or silicone where needed (kitchen sink areas).
Backer rod in deeper gaps before caulking.
Tool the bead properly for smooth concave profile.
Caulk between trim and wall, trim and cabinet, countertop and backsplash.
Don’t over-apply — excess caulk looks sloppy and collects grime.
I’ve ripped out and redone miles of failed caulk. The cheap stuff shrinks and cracks. Good caulk, applied correctly after everything is installed and settled, lasts years.
Paint: Prep Is 80% of the Job
Beautiful color means nothing if the surface prep was garbage.
Non-negotiable steps:
Thorough cleaning and light sanding of all surfaces.
Prime everything — especially patched areas, raw wood trim, and glossy existing paint.
Use quality cabinet-grade paint (enamel or semi-gloss) with good flow and durability.
Two to three thin coats, not one heavy one.
Proper ventilation and drying time between coats.
In kitchens, choose scrubbable, stain-resistant paints. High-gloss shows every imperfection but is easiest to clean. Eggshell or satin often strikes the best balance.
I’ve repainted kitchens where the original crew rushed the prep. The new paint failed in the same places because they didn’t fix the underlying issues.
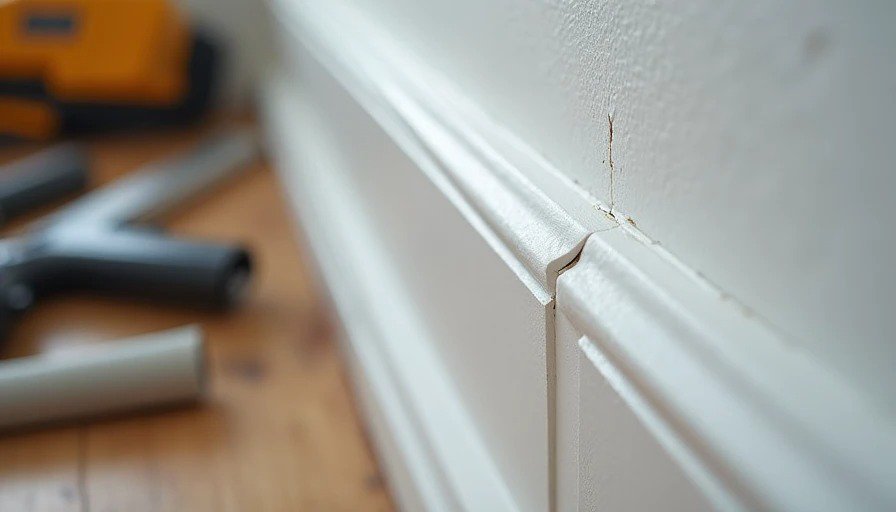
Practical Checklist Before Final Punch List
All trim scribed and securely fastened
Gaps filled properly with caulk or wood filler
Caulk tooled and excess wiped
Multiple coats of quality paint with proper prep
Touch-ups at all transitions
Final cleaning and protection of floors/counters during final days
During renovation, schedule finish work as the absolute last phase after everything else has settled. Rushing it leads to callbacks.
Real Costs and Tradeoffs in 2026
Finish work (trim + caulk + paint) for an average kitchen might run $3,000–$8,000 depending on scope and quality. Cutting this to save a couple thousand almost always shows.
Jamie’s rule: “Spend the money on the hands that know how to make old houses look straight. This is not where you hire the cheapest crew.”
The homeowner contributor saw both sides. First renovation they let the low bidder handle finishes. Gaps appeared, paint chipped, and it always looked “off.” Second time they paid for experienced finish carpenters. The kitchen still looks crisp years later.
After Project: Making It Last
Touch up caulk and paint as needed every couple of years.
Keep trim clean — avoid harsh cleaners.
Document the materials used for future touch-ups.
Address any new movement or settling promptly.
Good finish work turns a decent remodel into one that feels custom and professional. It protects the bigger investments you made in cabinets, counters, and appliances.
I’ve watched too many beautiful kitchens lose their shine because the crew rushed the final steps. Don’t let that happen to yours. Insist on quality trim installation, proper caulking technique, and thorough paint prep. Pay for the skill that makes everything else look intentional.
There are places to save money in a kitchen remodel. The visible finish details that your family sees and touches every single day are not those places. Do this part right and your kitchen will age with dignity instead of falling apart in plain sight.
Your older home deserves that level of respect. The families who get it are the ones who actually enjoy their space for years instead of regretting the shortcuts.