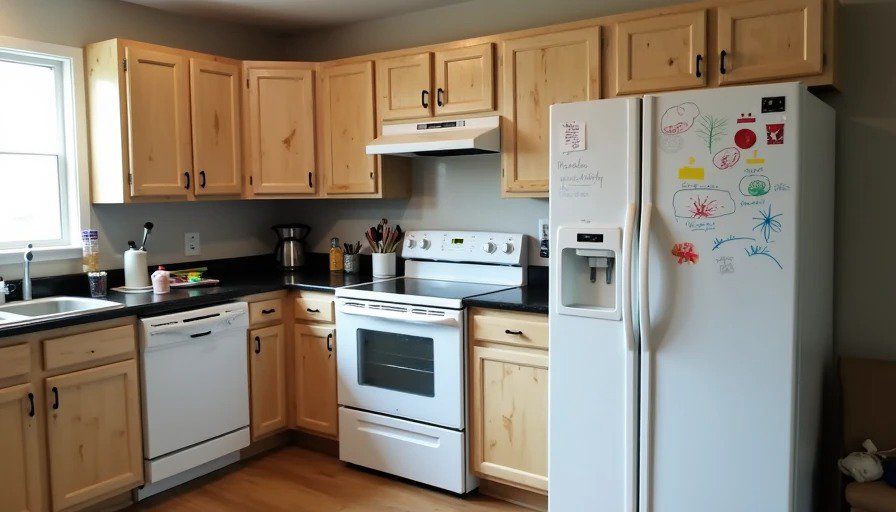
The Cabinets That Looked Great Until Year Three
I’ve installed and repaired more kitchen cabinets than I can count — first as a trim carpenter, then as a GC. Families drop serious money on “premium” looks only to watch doors sag, edges chip, or surfaces peel after a few years of real family use. One couple chose thermofoil cabinets because they looked high-end and were “easy to clean.” Eighteen months later the film was lifting at every handle, water spots turned into permanent damage, and they were shopping for a full redo.
That upgrade didn’t save them money. It cost them time, frustration, and another big check. This is exactly the kind of mistake I see constantly in older homes.
What “Looks Premium” Usually Means — And Why It Fails
Sales materials push glossy photos of crisp white shaker doors and sleek modern finishes. What they don’t show is how those cabinets hold up when kids slam drawers, adults lean on counters, and steam from cooking hits them daily.
The common traps:
Thermofoil or thin laminate over MDF/particleboard: Looks smooth and painted. Cheap upfront. But heat, moisture, and impacts cause bubbling, peeling, and chipping that you can’t repair cleanly.
MDF doors and boxes: Great for flawless painted finishes initially. Terrible with any water exposure — swells, crumbles, and warps. In a kitchen, that’s a death sentence.
Low-grade particleboard cores: Cheap, heavy, but falls apart under load. Hinges pull out easily.
Real premium isn’t about the Instagram look. It’s about the box construction, door material, and hardware that survive daily life.
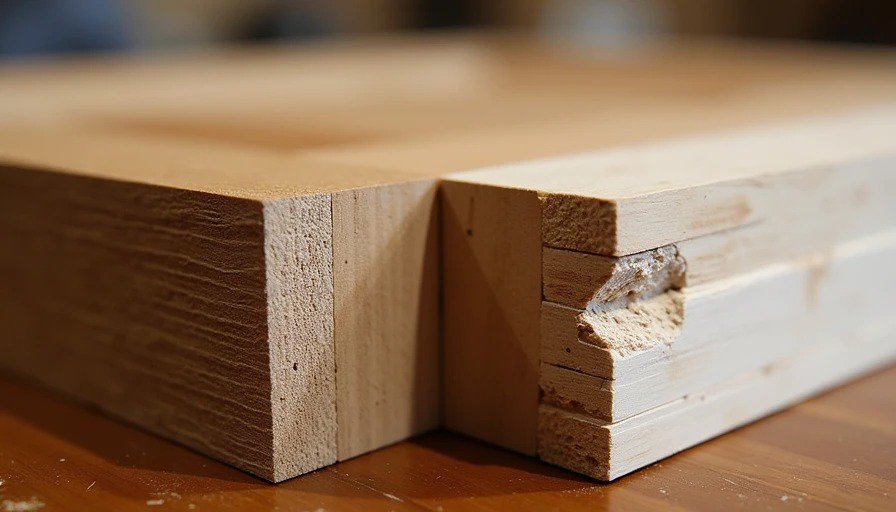
Box Construction: The Hidden Foundation
Most people only look at the doors. Don’t. The cabinet box (carcass) determines longevity more than anything else.
Best option for families: Cabinet-grade plywood boxes. Strong, stable, moisture-resistant compared to particleboard or MDF. It holds screws better for hardware and won’t swell and disintegrate when a leak happens behind the sink.
Plywood costs more than particleboard but far less than all-solid wood. In my experience, it’s the sweet spot for most older-home renovations.
Solid wood boxes are rare and overkill for most kitchens — they expand and contract with humidity more than plywood.
Doors and Finishes: Where Looks Meet Reality
Solid wood or wood veneer doors (maple, oak, cherry): Age gracefully. Can be refinished. Take dings better than laminates. Higher upfront cost, but worth it in high-traffic kitchens.
Paint-grade MDF doors: Look perfect when new. But any edge damage or moisture and they’re toast. Good for low-use areas if you accept the limitations.
High-pressure laminate (HPL): Actually one of the tougher options for durability and cleaning. Choose quality brands with thick cores. Avoid cheap thermofoil that mimics paint.
Where to save vs. where you can’t:
Save on trendy hardware styles, not on the mechanisms. Cheap soft-close hinges fail fast.
Don’t save on drawer slides — full-extension, heavy-duty undermount are non-negotiable for family use.
You can sometimes save on all-white or basic colors versus exotic woods, but never on the core materials.
Hardware: The Part Everyone Cheaps Out On And Regrets
This is my biggest pet peeve. Builders and homeowners pick pretty knobs and then pair them with junk hinges and slides.
Insist on:
Soft-close hinges rated for heavy use
Full-extension undermount drawer slides (Blum, KV, or equivalent)
Adjustable shelf pins and strong back brackets for wall cabinets
I’ve replaced hundreds of cheap Euro hinges that sagged after a year. Good hardware turns okay cabinets into ones that feel premium for a decade.
Practical Decision Table for Busy Families
Aspect | Looks Premium Initially | Ages Cheap (Avoid) | Best Long-Term Choice | Approx. Cost Impact |
|---|---|---|---|---|
Cabinet Box | Any painted finish | Particleboard/MDF core | Plywood | +15-30% |
Door Material | Thermofoil / Thin Laminate | MDF in wet areas | Solid wood or quality veneer | +20-50% |
Hardware | Basic visible hinges | Cheap soft-close | Blum or equivalent undermount | +10-20% |
Finish | High-gloss | Unsealed edges | Durable catalyzed lacquer or HPL | Varies |
Use this when comparing bids. If a quote is dramatically lower, check what they’re cutting.
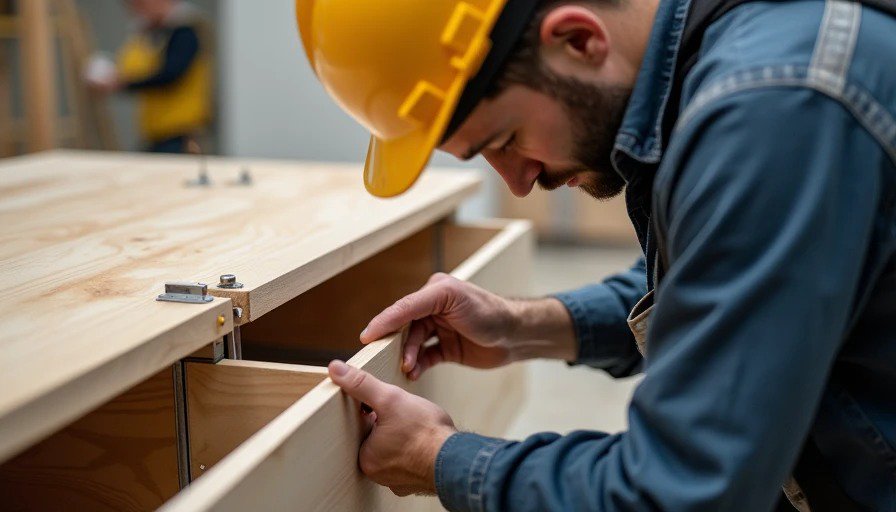
Installation Mistakes That Make Good Cabinets Fail Early
Even the best cabinets fail if installed wrong. Uneven floors and walls in older homes require proper shimming and leveling. Secure every cabinet to studs. Use fillers and scribe strips for tight fits against walls.
I always tell clients: Pay for experienced installers who know older homes. A rushed crew will leave gaps, misalign doors, and stress the boxes.
During renovation, install cabinets after plumbing and electrical rough-ins but before countertops and flooring for best access.
Real-World Lessons From the Field
The homeowner contributor on our team learned this painfully. First renovation they went with the “premium look” at a lower price point. Cabinets looked amazing in photos but started showing wear within two years — doors didn’t close right, edges chipped. Second time they followed the quality-over-flash approach. The kitchen still looks and functions great years later.
Alex (our inspector) sees the aftermath in older homes constantly: water damage ruining cheap cabinet bottoms because the core material couldn’t handle a minor leak.
After the Upgrade: Protecting Your Investment
Seal all exposed edges properly.
Use cabinet liners and avoid overloading drawers.
Address leaks immediately.
Plan for maintenance — touch-up paint or professional refinishing down the road for wood.
Document everything with photos for your home records.
The Smart Path for Older Homes
You don’t need all-solid wood everything to have cabinets that last. Focus on plywood boxes, quality doors where they matter most (base and tall cabinets get the hardest use), and excellent hardware. That combination gives you the premium look without the premium regret timeline.
Skip the upgrade that only impresses on move-in day. Choose the one that still works and looks respectable when your kids are teenagers or you’re hosting holidays years from now.
I’ve installed both the flashy failures and the quietly excellent ones. The families who listen to the “where not to save” advice are the ones who don’t call me back for expensive fixes later.
Fix the kitchen you actually live in. Not the one that looks perfect in a staging photo. Your future self — and your wallet — will be glad you did.
No feedback yet — submit the first.