
Tub Protection: Essential Tips for Your Old Home Renovation
You’ve seen it happen. A friend starts a bathroom refresh, and by the end of the first day, the builder’s drop cloths have shifted and the tub already has a fresh scratch. Tub protection isn’t a luxury—it’s a requirement, especially when you’re working with the fragile surfaces found in older homes. The cost of neglecting it can easily run into hundreds of dollars for repairs or, worse, a full tub replacement. Here is how to keep your tub safe without overthinking the job.
Why Tub Protection Matters in Older Homes
Older homes often have tubs made from cast iron, enameled steel, or fiberglass. These materials are beautiful but vulnerable. Cast iron can chip if a heavy tool drops on it; fiberglass scratches if you drag a metal stepladder across it. A single mistake during a demo or tile install can leave a permanent mark. Once that enamel or gel coat is damaged, moisture gets under the surface, leading to rust or delamination. Tub protection covers the surface and prevents this chain of events. For the price of a roll of rosin paper or a sheet of hardboard, you can avoid a repair bill that could top $300.
Even if you are only painting the walls or replacing a vanity, debris and tools will find their way over the tub. You are not buying the product alone—you are buying the install, the timing, and the follow-through. A cheap drop cloth that slips will do almost nothing. Dedicated tub protection matierials actually stay in place.
Best Tub Protection Methods for DIYers
You have several options, and the right one depends on how much abuse the tub will face and your budget. Here is a look at the most common methods.
- Cardboard and rosin paper: This is the minimum viable protection. Lay down a layer of corrugated cardboard, then tape rosin paper over it. This works for light foot traffic and drips but will not stop a dropped hammer. Cost: under $10 for a room-scale amount.
- Ram Board or similar floor protector: These thick, fiber-reinforced rolls are designed for heavy-duty use. They cut with a utility knife and tape together easily. One roll covers about 100 square feet. Cost: $30-$60 per roll.
- Adhesive protective film: Clear plastic film sticks directly to the tub surface and peels off when the work is done. This is excellent for paint or dust but offers zero impact protection. Cost: $15-$25 for a kit.
- Plywood or hardboard: For a full gut renovation where tools and debris will fly, cut a piece of 1/4-inch plywood or hardboard to the size of the tub bottom and sides. This is overkill for a quick update but essential for a big job. Cost: $20-$40 for a sheet.
Whichever you choose, tape the edges with blue painter’s tape, not duct tape. Duct tape leaves sticky residue that can pull up the tub finish. And always cover the drain—debris can clog pipes and cause slow drains later.
Common Tub Protection Mistakes
Even experienced homeowners make these errors.
- Using the wrong tape. Masking tape that stays on too long becomes a problem. Use delicate-surface tape on fiberglass.
- Leaving the tub uncovered overnight. You might think the work is done for the day, but a tool left on the edge can cause a crack as the house cools and expands.
- Not protecting the faucet and handles. These fixtures can be scratched or dented just as easily as the tub. Wrap them with foam pipe insulation or a cloth.
- Skipping protection when doing ceiling work above the tub. A dropped screwdriver can punch through a thin plastic film.

Tub protection that fails is worse than no protection—it gives false security. If you see tears or shifts in your covering, stop and redo it. A few minutes of fixing now saves an hour of repair later.
When to Invest in Professional-Grade Tub Protection
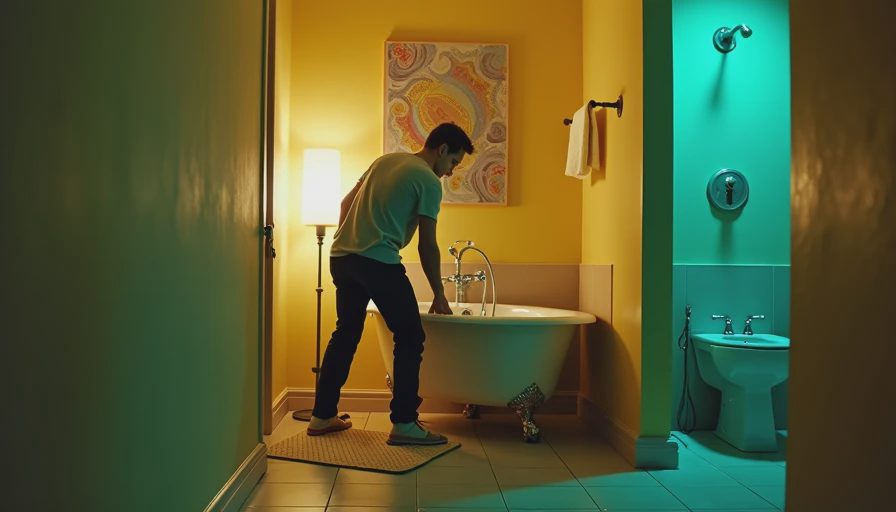
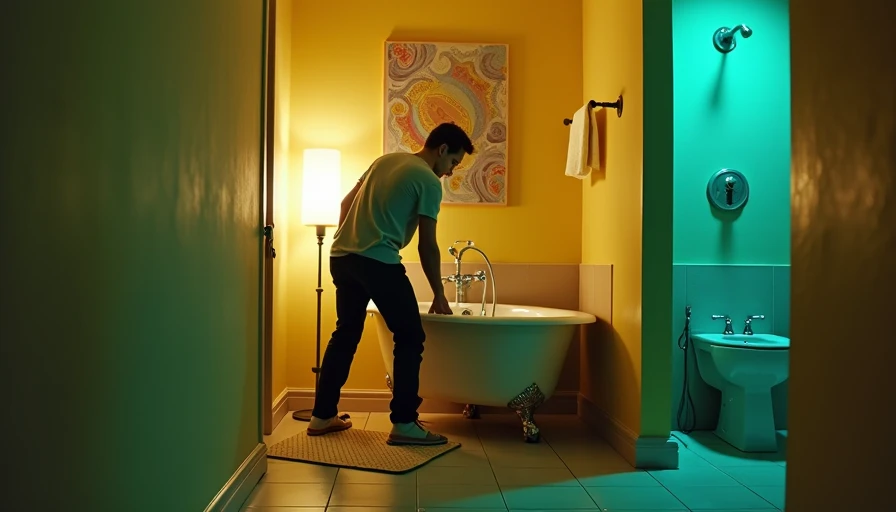
For clawfoot tubs or vintage enameled cast iron, the stakes are higher. Replacing a period-appropriate tub can cost $1,500 or more, and refinishing runs $400 to $700. In these cases, skip the cardboard and buy a dedicated tub protector like a thick foam mat or a rigid custom-fit cover. Some brands sell pre-cut foam pads sized to standard tubs. Expect to pay $50-$100, but that is a fraction of the replacement cost.
If you are hiring a general contractor, make sure tub protection is in the contract—and check that they actually use it. Some contractors assume they will be careful, but accidents happen. A short conversation upfront can prevent a big headache later.
Final Thoughts
Tub protection is one of those renovation tasks that feels optional until something goes wrong. Then it feels essential. For a few dollars and a short setup, you can walk through the whole project without worrying about that harsh chip on a freshly painted wall or the scrape on the tub rim. Fix the house you have, not the fantasy version of it. That means protecting the parts that are hardest to replace. Start your next bathroom job by throwing down proper tub protection.