How a “Small Drip” Became a Major Headache
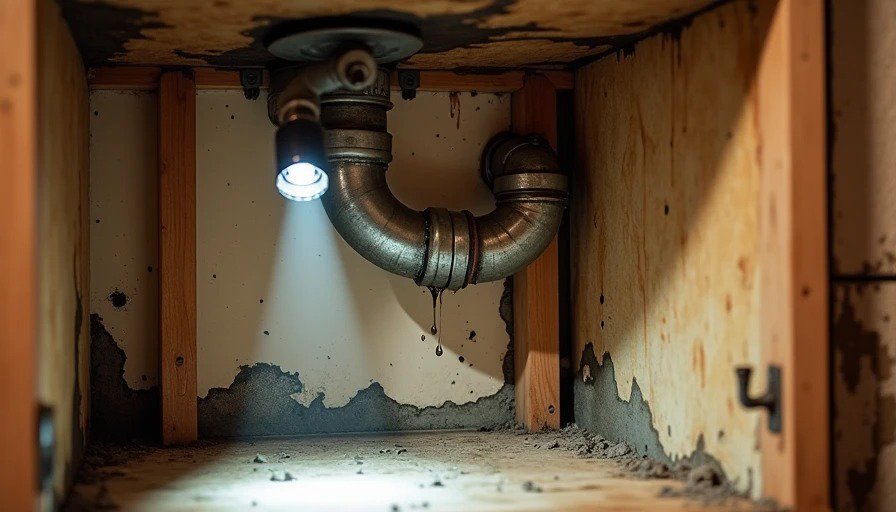
We bought our first older home thinking we were smart. Solid bones, great neighborhood, and only a few cosmetic updates needed. Then we noticed a tiny drip under the kitchen sink. It was slow — just a few drops a day. We tightened the connection, put a bowl underneath, and figured we’d deal with it after the holidays. That was mistake number one.
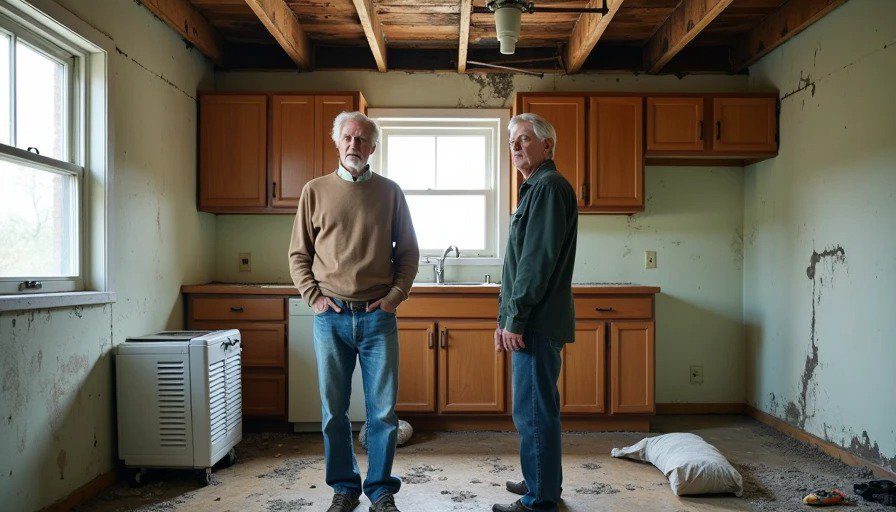
Six months later we smelled musty air in the kitchen. By the time we called a plumber, water had wicked through the cabinet base, rotted the subfloor, traveled along the joists, and created a perfect environment for mold behind the drywall. What started as a $150 repair turned into $14,200 in remediation, plumbing repipe, floor repairs, and lost time. We lived in dust and plastic sheeting for weeks while the kids stayed with grandparents.
This wasn’t bad luck. It was classic older-home denial. I’m the homeowner contributor here — the guy who’s been through two full renovations. This story is painfully real, and I share it so you don’t repeat it.
Why Slow Leaks Are More Dangerous Than Burst Pipes
Burst pipes get your attention immediately. Slow leaks hide. They drip for months, saturating wood, promoting mold (which starts growing in 24-48 hours under the right conditions), and corroding everything they touch. In older homes with galvanized or polybutylene pipes, this is common.
Our leak came from a corroded galvanized fitting that had been weakening for years. The constant moisture softened the particleboard cabinet base, then moved into the subfloor plywood. Once it hit the joists, the damage spread horizontally. We learned that water always finds the path of least resistance — often toward structural elements you can’t see.
Alex, our inspector teammate, sees this weekly: “Families ignore the drip because it’s not a flood. Then they pay triple when the inspector or appraiser catches it later.”
The Full Cost Breakdown — What We Actually Paid
Here’s the ugly truth of what that ignored leak cost us:
Initial plumber visit and temporary fix: $280
Mold inspection and testing: $650
Full mold remediation (containment, removal, air filtration): $4,800
Structural repairs (sistered joists, new subfloor): $3,200
Plumbing repipe of affected lines (PEX): $2,100
Drywall, insulation, trim, and paint: $2,400
Temporary housing and food for family: $1,200 (we tried to stay but the dust was unbearable)
Lost work time and stress: Priceless
Total: Over $14,000 and two months of disruption. Insurance covered some mold and water damage after the deductible, but not the “gradual damage” or preventive portions. We fought with them over documentation.
What We Should Have Done Immediately
Looking back, the checklist is obvious now:
Stop the water — Even if it’s slow, shut off the supply valve and call a plumber the same week.
Open the walls — Remove the cabinet base and drywall around the leak to see the full extent early.
Moisture test everything — Use a meter on wood and consider professional infrared scanning.
Address the source — Replace corroded sections, not just patch.
Prevent secondary damage — Run dehumidifiers, fans, and monitor for mold.
During our second renovation we did it right. Any sign of moisture triggered immediate action. The difference was night and day — no major surprises, lower stress, and far less cost.
Hidden Electrical Risks That Come With Plumbing Leaks
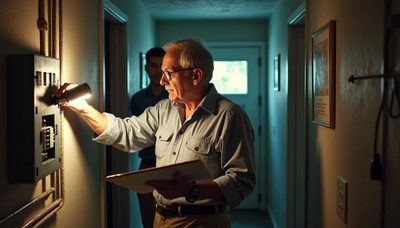
Water and electricity don’t mix. Our leak came dangerously close to an outlet and wiring in the wall. We had GFCI protection, but the moisture still risked shorts or corrosion. In older homes, this combination can lead to failed panels, arcing, or fire hazards.
Always have an electrician check any area where water damage occurred. We had to replace several outlets and run new wire in the affected bay.
Lessons for Buying and Renovating Older Homes
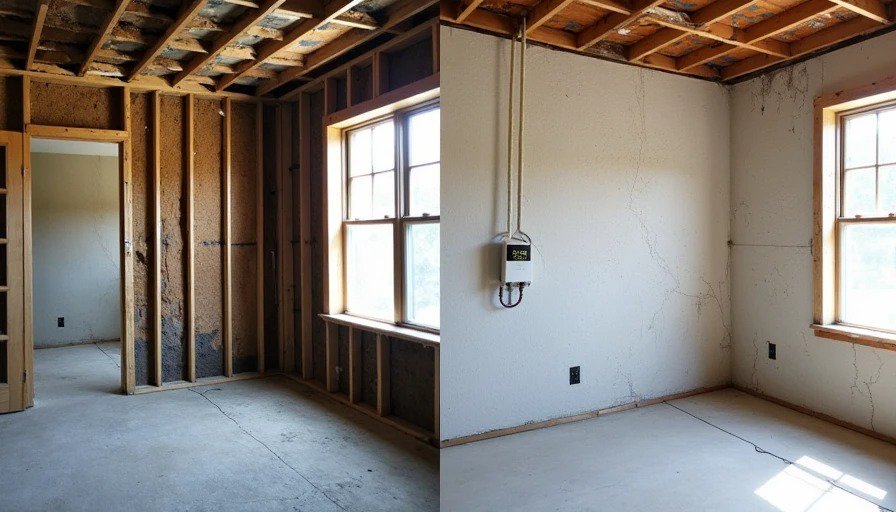
If you’re buying: Make plumbing and moisture inspection non-negotiable. Ask for history of leaks. During the inspection, turn on all faucets and showers simultaneously to test pressure and look for signs of past damage.
During renovation: Treat any leak as an emergency. Open walls while you’re already working in the area. It’s cheaper to fix proactively.
After project: Document everything. Keep photos, receipts, and plumber reports. This helps with future insurance claims and resale.
Jamie always says: “People want to save on the invisible stuff. Then they cry when the visible stuff gets destroyed.”
The Emotional and Family Cost
Beyond money, the stress was real. Explaining to kids why their kitchen was torn apart, dealing with the smell, worrying about mold health effects — it strained the whole family. We felt stupid for ignoring it, even though we thought we were being “practical” by waiting.
Second time around we budgeted differently. We allocated real contingency for hidden systems and acted fast on any red flags. The house feels solid now, and we sleep better.
Practical Prevention Checklist for Homeowners
Walk under sinks and check pipes monthly.
Know location of main shutoff and test it.
Install leak detection devices or smart water shutoffs in high-risk areas.
Maintain proper grading and gutters outside to reduce foundation moisture.
During any renovation, pressure-test lines and inspect accessible plumbing.
Replace galvanized or PB pipes when you open walls — don’t wait.
Moving Forward Smarter
Older homes reward vigilance. That small drip wasn’t just annoying — it was a warning. Ignoring it cost us thousands and months of chaos. Facing it early would have been inconvenient but manageable.
We still love our older home. The character, the neighborhood, the space for our family — it’s worth it. But we respect the systems now. No more “it can wait” on anything involving water.
If you’re dealing with even a minor leak, don’t be us. Act today. Call the pro, open the wall, fix it properly. Your future self, your budget, and your family’s peace of mind will thank you.
We learned the expensive way so you don’t have to.