The Floor Job That Turned Into a $9,000 Surprise
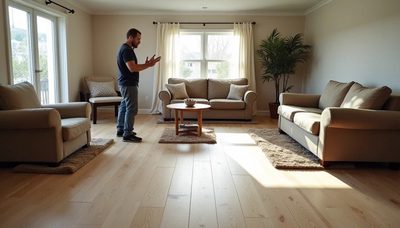
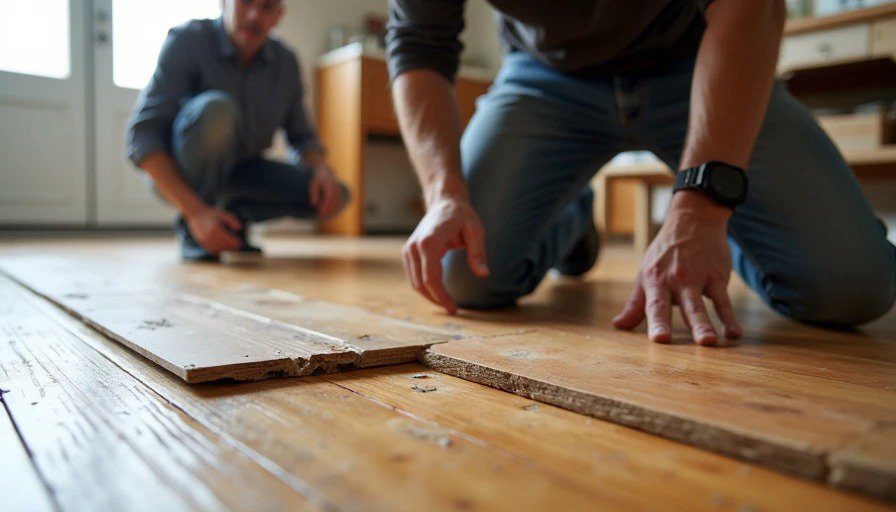
I’ve installed and fixed flooring in more older homes than I can count. One family picked beautiful engineered hardwood for their 1980s ranch. The installers laid it straight over the existing subfloor to save time and money. Three months later the boards were cupping, gaps appeared, and a musty smell started. When we pulled it up, the old subfloor was soaked from a slow plumbing leak they never knew existed, plus uneven joists causing deflection. What should have been a $12k flooring project ballooned with structural repairs.
New floors don’t lie. They magnify every problem underneath. In older homes, that’s usually a lot.
What New Floors Commonly Reveal
Older homes hide decades of settling, water intrusion, pests, and poor previous work. When you remove old carpet or vinyl, the truth comes out fast.
Moisture issues are the biggest culprit. Even if the floor looks dry today, past leaks can leave subfloors compromised. Vapor barriers may be missing or damaged. In crawlspaces or over basements, ground moisture rises if not properly sealed. New flooring — especially hardwood or laminate — will cup, buckle, or grow mold if you don’t fix this first.

Structural problems: Sagging joists, undersized beams, or cut floor framing from past renovations create bouncy or uneven floors. New hard materials telegraph every dip and high spot. What felt “fine” under carpet suddenly looks and feels terrible.
Asbestos or lead in old vinyl or adhesives. Not a structural issue, but a safety one that stops the job until properly abated.
Pest damage: Termites, carpenter ants, or rodents chewing through subfloor and joists. You won’t see it until you open things up.
I tell every client: Budget time and money for surprises. The nicest new floor in the world fails fast if the base isn’t solid.
Subfloor Assessment: What Pros Actually Check
Don’t let a flooring crew just slap new material down. Demand a proper evaluation.
Key steps during demo:
Inspect every inch of subfloor for soft spots, stains, or delamination.
Check joist spacing and condition — should be 16" on center for most spans, with proper bridging.
Measure deflection by walking and using a straightedge or level.
Test moisture content with a meter (wood should be under 12-14%).
Look for signs of active leaks or poor drainage outside.
In crawlspaces, ensure proper ventilation, vapor barrier on the ground, and insulation where required. Many older homes lack these basics.
If the subfloor is too damaged, you may need to sister joists, add blocking, or install new plywood over the existing layer (minimum 3/4" total thickness recommended for stability).
Material Choices for Older Uneven Homes
Not every floor works the same in an older house.
LVP (Luxury Vinyl Plank): Often the most forgiving. Floats over uneven subfloors with good underlayment. Waterproof options handle moisture better. Great for families with kids and pets.
Engineered Hardwood: Good middle ground. Thicker wear layers (at least 3-4mm) hold up better. Still sensitive to moisture and needs a flat, dry base.
Solid Hardwood: Beautiful but least forgiving. Requires acclimation, nailed installation, and very flat subfloor. Refinishable but expensive to fix if problems arise later.
Tile: Durable but heavy and unforgiving on deflection. Needs rock-solid substrate and proper underlayment like cement board.
For most budget-conscious families in older homes, quality LVP or engineered wood on properly prepped subfloors gives the best balance of looks, durability, and performance.
Hiring and Sequencing Advice
Hire flooring pros who specialize in older homes, not just new construction crews. Get multiple bids that include subfloor evaluation and repair allowances.
During renovation sequence:
Fix major systems (plumbing, electrical, roof leaks).
Address foundation/crawlspace moisture.
Demo and repair subfloor.
Install new flooring after other dusty work but before final painting if possible.
Document everything with photos. This helps with warranties and future insurance claims.
Cost reality in 2026:
Basic subfloor repair: $2–$6 per sq ft
Full new plywood overlay: $4–$8 per sq ft
Quality LVP installed: $6–$12 per sq ft
Engineered hardwood: $10–$18 per sq ft
Factor in 15-25% contingency for hidden issues.

After the Floors Are In: Protecting the Investment
Maintain proper humidity levels (35-55%) to prevent cupping or shrinking.
Use felt pads on furniture.
Address any new squeaks or soft spots immediately.
Keep gutters clean and grade soil away from foundation.
The homeowner contributor on our team hit this wall hard. First renovation they rushed new floors over questionable subfloor. Within two years they had issues and had to redo sections. Second time they invested in proper prep. The floors still look and feel solid years later with active family use.
Alex, our inspector, sees the pattern constantly: “Buyers fall in love with the new floors during a showing and miss the bouncy spots or hidden water damage until after closing.”
Making Floors Work in Your Older Home
New floors should improve your daily life, not create new headaches. Take the time to expose and fix what’s underneath. A slightly higher upfront cost for proper subfloor work pays for itself by avoiding callbacks and premature replacement.
There are no shortcuts when dealing with decades-old framing and history. Respect the house you have. Prep the base correctly. Choose materials that match your family’s real needs rather than the trendiest option.
I’ve installed beautiful floors that failed because the prep was rushed. I’ve also installed more modest materials over rock-solid subfloors that still look great a decade later. The difference is always in what you can’t see.
Don’t let new floors become the expensive reveal of problems you could have solved earlier. Do the hard work upfront. Your family will enjoy the results for years instead of dealing with the next set of regrets.